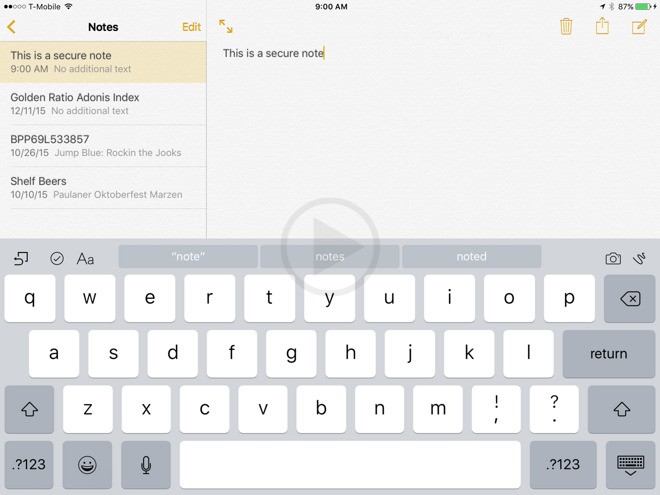
The very first step one needs to make before they can secure their notes using the Touch ID system is to create a note from the app. The iOS 9.3 allows the users to put Touch ID protection on their notes only after the note is created and not while creation of the note. Thus, one first needs to open the app, select a new notes option and create the note.
∙ The second step one has to do look for the Share icon present at the top of the screen, at the right corner. Choose the option. It is to be noted that the position of the Share icon is basically the same for both iPad as well as iPhone users.
∙ The option which will allow the user to secure the note, the “Lock Note” button is present inside the Share option. This option is mainly surrounded by Print and Copy Options.
∙ On selecting the option, a new pop up window will show. This window allows the user to create a new password and verify it, as it does normally for any kind of protection. It is to be noted that it is much better to not use any password twice, i.e., previously used passwords do not prove to be very strong or secure. Moreover, a password having both alphabetic and numeric characters is much more secure. One can also enter a hint to make sure they remember the password as soon as they see it.
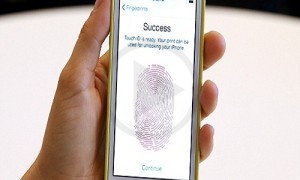
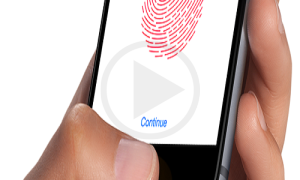
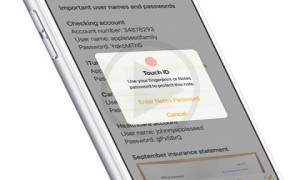
∙ Another option is the Touch ID option. The users can also introduce a Touch ID security on their note for faster access, as typing a long password cannot be quicker than simple touch scans.
Although the password is set, the note is still not secure. Anyone who is able to gain access to the phone and notes app, can see the note. The final step is to press the padlock sign on the top corner to secure the note.