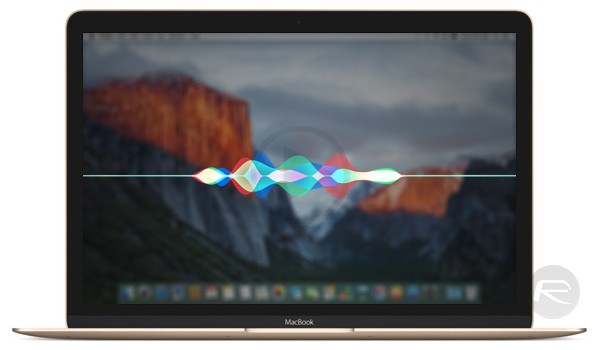
This year during the worldwide annual conference of the Apple, they have launched a very interesting feature which was most awaited from a very long time from the company’s end. This feature is the Hey Siri voice assistant in the macOS. Such a big relief for the mac owners now, even they can access the popular voice assistant of the Apple in their laptop computers.
Logically it is very confusing to find the reason why, Apple did not include this earlier. Why Apple took so much time to include the feature for the Mac owners. The battery of the Mac laptops is anyways heavier than their iPhones and iPads then why they did not have this feature included earlier. It is completely baseless to find a reason for the same. Nothing has been explained by the Apple Company as well. They have not spoken at all about this issue. The Siri feature is working surprisingly well in the macOS. Below are the steps on how to configure:
1. Go to the system preferences of the computer device.
2. Head over to the Accessibility section and go to Dictation afterwards.
3. Tick off the feature which says “Enable dictation keyword phrase”
4. Replace the text written there with “Hey”.
5. Select the commands for the dictation.
6. Tick off the option which asks to Enable the advanced commands
7. Click the new command and replace everything.
8. Select done once
Please note the word Hey in the dictation phrase will enable the device to listen to the future commands. In case you have accidentally activated the Siri, the word Hey should be replaced with Ok or Hello. For Example, make it “Hello Siri” or “Ok Siri”, etc. The steps are very easy to configure for the Mac and can be easily done by anyone using the device.